
Reviewed: 13 September 2026 · Next review: 13 December 2026
Author: Ozlin Info Editorial Team · Human review: Lin (accountable human); Codex assisted
Reviewed: 29 August 2026 · Next review: 28 February 2027
Author: Ozlin Info Editorial Team · Human review: Lin
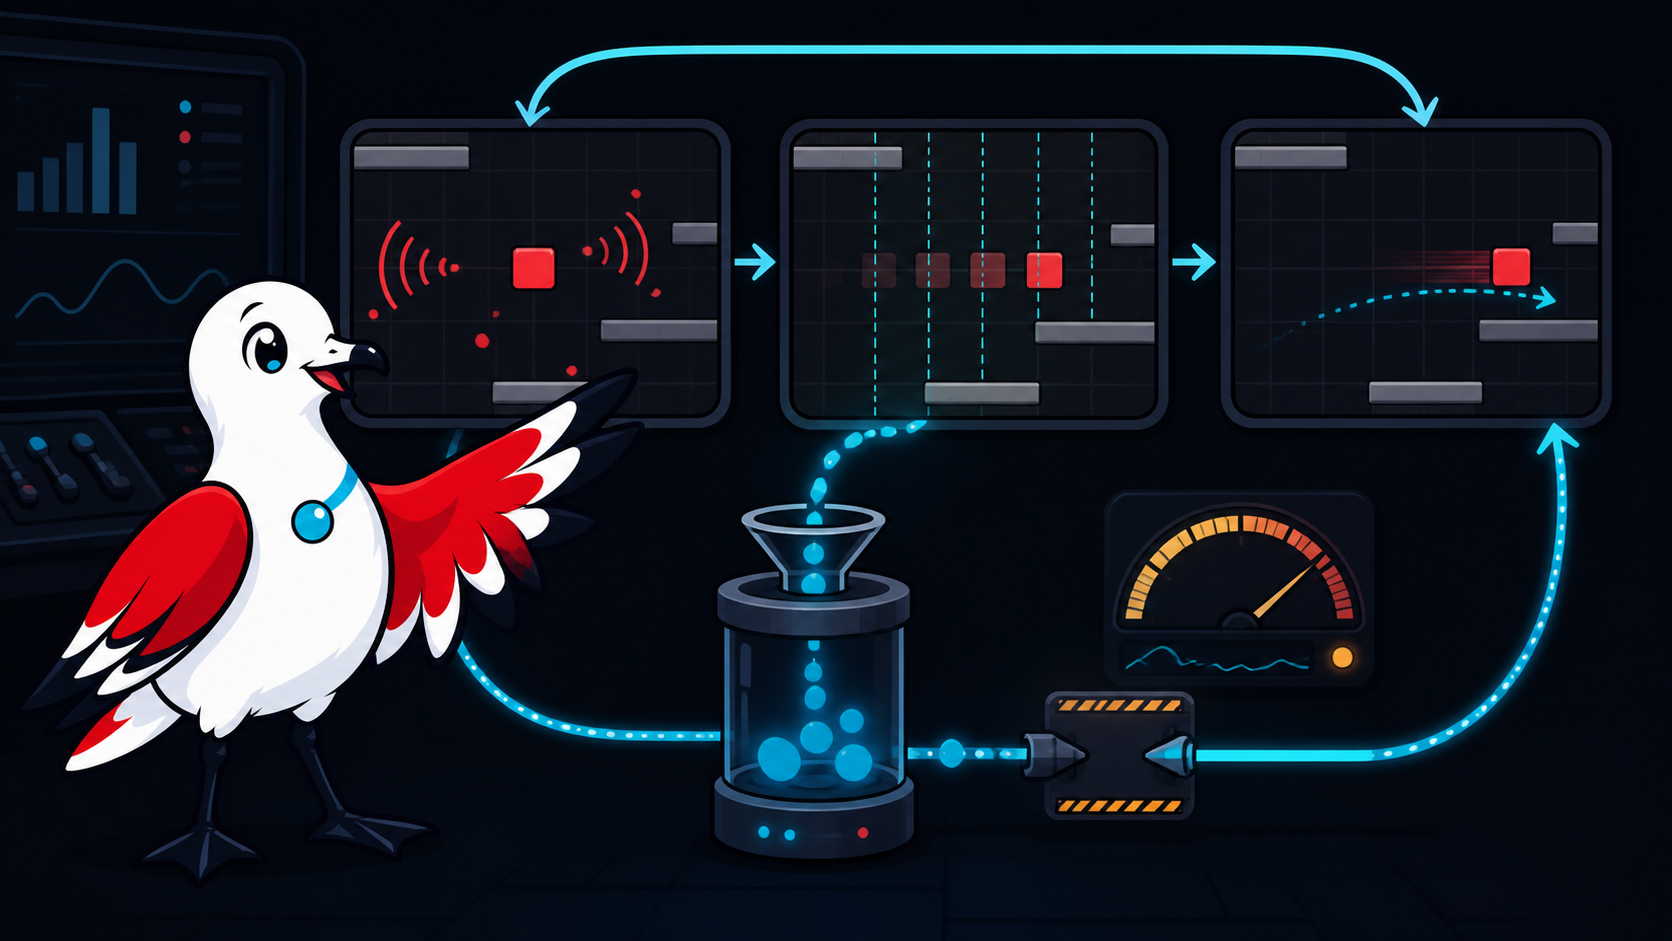
A game loop repeatedly processes operating-system events, advances game state and renders a frame. The order is simple; the timing details are not. A loop that multiplies movement by “one unit per frame” runs at different speeds on different machines, while an unbounded time step can make physics unstable after a pause or debugger stop.
This example uses pygame-ce and separates variable rendering from a fixed simulation step. It is intentionally small, but it includes event pumping, frame-time clamping, focus handling, interpolation and clean shutdown.
Understand what Clock.tick() returns
pygame.time.Clock.tick(framerate) waits as needed to limit the loop and returns the elapsed milliseconds since the previous call. Divide by 1,000 to obtain seconds. The documentation notes that its timing uses the platform delay function and is not perfectly accurate; a frame cap is a pacing aid, not a real-time guarantee (pygame-ce — pygame.time).
A variable-step update can be adequate for visual motion:
position += velocity * frame_secondsPhysics and collision often behave more consistently with a fixed step. The accumulator pattern collects elapsed frame time and runs zero or more updates of a constant duration. Rendering interpolates between the two most recent simulation states.
Install and run the example
Create a virtual environment, install the selected pygame-ce version and record it in the project dependency file:
python -m venv .venv
python -m pip install pygame-ce
Save this as main.py:
import pygame


WINDOW_SIZE = (960, 540)
FIXED_SECONDS = 1.0 / 120.0
MAX_FRAME_SECONDS = 0.25
RENDER_LIMIT = 144
MOVE_SPEED = 260.0
PLAYER_SIZE = pygame.Vector2(44.0, 44.0)


def read_direction() -> pygame.Vector2:
    keys = pygame.key.get_pressed()
    direction = pygame.Vector2(
        float(keys[pygame.K_d]) - float(keys[pygame.K_a]),
        float(keys[pygame.K_s]) - float(keys[pygame.K_w]),
    )
    if direction.length_squared() > 1.0:
        direction = direction.normalize()
    return direction


def clamp_to_window(position: pygame.Vector2) -> pygame.Vector2:
    return pygame.Vector2(
        max(0.0, min(position.x, WINDOW_SIZE[0] - PLAYER_SIZE.x)),
        max(0.0, min(position.y, WINDOW_SIZE[1] - PLAYER_SIZE.y)),
    )


def main() -> None:
    pygame.init()
    screen = pygame.display.set_mode(WINDOW_SIZE)
    pygame.display.set_caption("Fixed-step pygame-ce loop")
    clock = pygame.time.Clock()

    position = pygame.Vector2(120.0, 240.0)
    previous_position = position.copy()
    accumulator = 0.0
    running = True
    focused = True

    while running:
        frame_seconds = min(
            clock.tick(RENDER_LIMIT) / 1000.0,
            MAX_FRAME_SECONDS,
        )

        for event in pygame.event.get():
            if event.type == pygame.QUIT:
                running = False
            elif event.type == pygame.KEYDOWN and event.key == pygame.K_ESCAPE:
                running = False
            elif event.type == pygame.WINDOWFOCUSLOST:
                focused = False
                accumulator = 0.0
            elif event.type == pygame.WINDOWFOCUSGAINED:
                focused = True

        if not running:
            break

        if focused:
            accumulator += frame_seconds
            direction = read_direction()

            while accumulator >= FIXED_SECONDS:
                previous_position = position.copy()
                position += direction * MOVE_SPEED * FIXED_SECONDS
                position = clamp_to_window(position)
                accumulator -= FIXED_SECONDS
        else:
            previous_position = position.copy()

        alpha = accumulator / FIXED_SECONDS
        render_position = previous_position.lerp(position, alpha)

        screen.fill("#10131a")
        player_rect = pygame.Rect(
            round(render_position.x),
            round(render_position.y),
            round(PLAYER_SIZE.x),
            round(PLAYER_SIZE.y),
        )
        pygame.draw.rect(screen, "#e63946", player_rect, border_radius=8)
        pygame.display.flip()

    pygame.quit()


if __name__ == "__main__":
    main()
Run it with python main.py. WASD moves the square and Escape exits.
Why the loop is structured this way
Events are pumped every outer frame
pygame.event.get() keeps the window responsive and gives the application a chance to handle quit, focus and device events. Do not process events only inside the fixed-step loop: a fast render frame may execute no simulation step, while a delayed frame may execute several.
The frame delta is clamped
After a breakpoint, window drag or device stall, the reported delta can be very large. Advancing every missed fixed step can cause a “spiral of death” in which catch-up work makes the next frame even later. This example clamps one outer-frame contribution to 250 milliseconds and clears the accumulator on focus loss. A networked or deterministic game needs a more explicit pause and resynchronisation policy.
Simulation uses a constant delta
Movement advances in 1/120-second increments. The render cap and simulation rate are separate: changing RENDER_LIMIT does not change simulation speed. A production project should choose a step supported by its collision and CPU budget; 120 Hz is an example, not a universal recommendation.
If each update takes longer than the fixed interval, the loop cannot catch up. Add a measured maximum number of steps per frame and telemetry rather than silently dropping time. Decide whether the game should slow, skip presentation or resynchronise.
Rendering interpolates
The accumulator contains the fraction of time between the previous and current simulation state. lerp presents a position between them, which can make rendering smoother when it runs more frequently than simulation. This adds approximately one simulation step of visual latency and should interpolate presentation only; do not feed the rendered position back into gameplay.
The example samples held keyboard state once per outer frame. For very precise input, queue timestamped transitions and consume them at defined simulation boundaries. A multiplayer game must align inputs with its networking tick and authority model.
Extend it without losing testability
Move simulation into a function or model that accepts commands and a fixed delta without reading pygame globals. Unit tests can then advance a known number of steps and compare state. Keep rendering read-only and keep random number generation behind a seeded interface.
Add systems in a deliberate order:
- action-based input rather than hard-coded keys;
- a small world model and collision tests;
- asset loading outside the hot loop;
- scene or state ownership;
- audio and presentation requests; and
- profiler counters for update, render and allocations.
Test window resize, focus loss, long runtime, device disconnect and a deliberately slow update. Package a built application on the target operating system; an editor or shell run is not the full release environment.
For a scoped software build or review, see Ozlin Info's secure web and software delivery service; related first-party game-engineering context is in the Projects archive, or contact Ozlin Info.
Related reading: Collision detection from broad phase to CCD.
General-information disclaimer
This article provides an educational example, not a supported game framework or timing guarantee. Review dependencies, licences, platform packaging, input, accessibility and performance for the actual project.
AI-assistance disclosure
AI tools assisted with source discovery, code drafting and copyediting. A human reviewer must run the example, pin dependencies, add tests and verify current pygame-ce and Python behaviour before publication or use.
Primary sources checked
- pygame-ce — Documentation
- pygame-ce — pygame.time
- pygame-ce — pygame.event
- pygame-ce — pygame.math.Vector2
Source access date: 29 August 2026.
nn
Limitations: The loop example is educational; timing, input, packaging, performance and accessibility must be tested with the actual project and dependencies.