
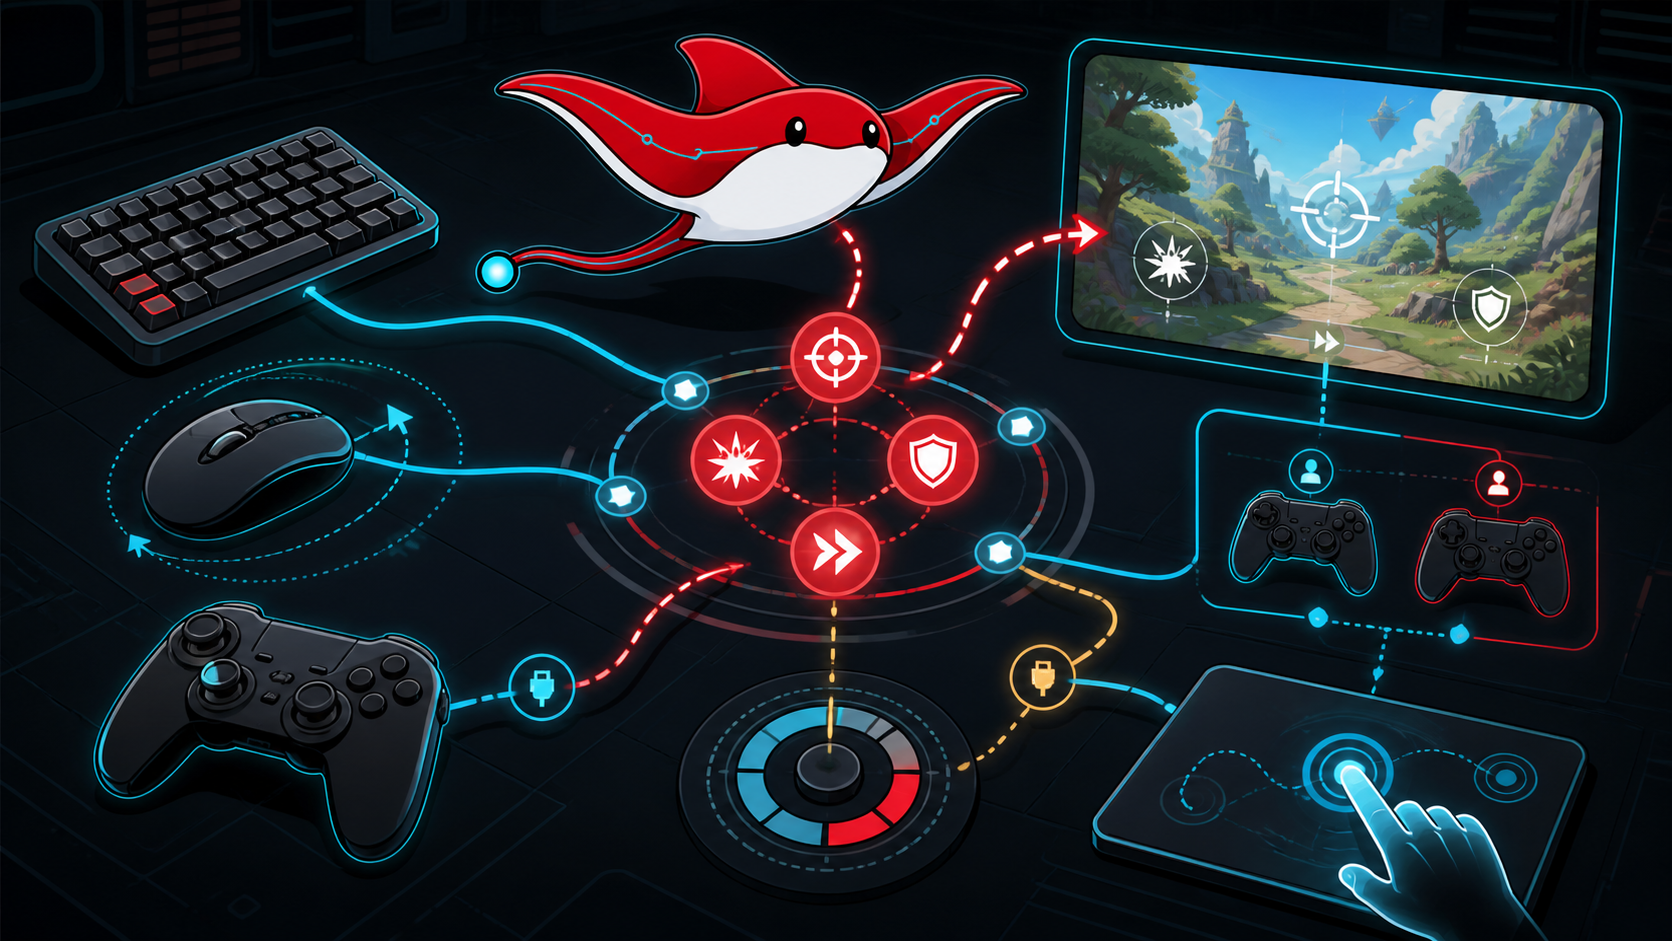
Tag: Unity Input System

  • Cross-Platform Game Input: Actions, Remapping and Device Changes

    Cross-Platform Game Input: Actions, Remapping and Device Changes

    Cross-platform input is not a list of if key pressed statements. It is a boundary between physical controls, operating-system events, player identity, gameplay intent and interface feedback. A resilient design lets devices appear and disappear, lets people remap actions and avoids embedding one controller's labels in game logic.

    The first design artifact should be an action inventory. Name intent such as Move, Look, Confirm, Cancel, Jump, Interact and Pause. Define the value type, timing and contexts for each action before assigning keys or buttons.
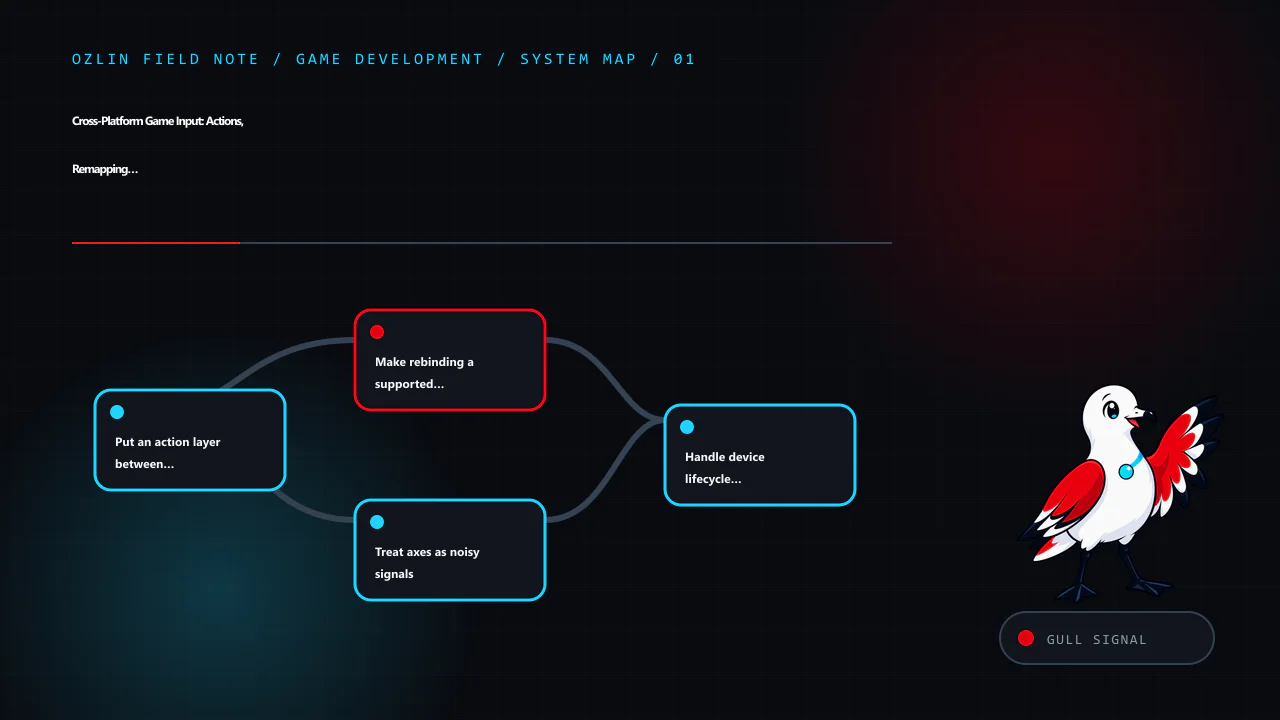
    Article map for Cross-Platform Game Input: Actions, Remapping and Device Changes, covering Put an action layer between controls and gameplay, Make rebinding a supported data flow, Treat axes as noisy signals and related…
    Article map: Put an action layer between controls and gameplay; Make rebinding a supported data flow; Treat axes as noisy signals; Handle device lifecycle and player identity.

    Put an action layer between controls and gameplay

    The input layer converts device-specific controls into normalised action values and events. Gameplay consumes those actions without knowing whether Move came from WASD, a stick, touch or an accessibility device.

    A useful flow is:

    physical device → platform or engine input → binding and processors
                    → player action → gameplay command or UI navigation

    Keep gameplay contexts separate. A Confirm action in menus should not accidentally fire a weapon beneath an open dialog. Use action maps or an explicit context stack for gameplay, interface, vehicle, spectator and debug controls. Record which context owns an event and how transitions clear held state.

    Unity's Input System supports multiple bindings for an action, composite bindings, control schemes and non-destructive binding overrides. Its current documentation also warns that processors can be applied both at a control and binding, which can unintentionally apply a dead zone twice (Unity — Input bindings). Pin the package version used by the project and test saved overrides when upgrading.

    Make rebinding a supported data flow

    Rebinding needs more than a capture dialog. Define:

    • which actions may share a control;
    • how conflicts are explained and resolved;
    • how composite bindings such as WASD are edited;
    • how defaults are restored per action or scheme;
    • where overrides are stored and migrated;
    • whether keyboard, mouse and gamepad can be used together; and
    • how inaccessible or reserved platform controls are handled.

    Do not store a display string as the binding identity. Store the engine's stable binding identifier or supported override representation, then derive a localised label or glyph for the currently connected device. Validate imported or cloud-synchronised settings before applying them.

    Let players reach the controls screen with more than one device path. If a bad override makes Confirm unreachable, provide a safe reset. Test rebinding with keyboard layouts other than US English and with gamepads whose face-button labels or positions differ.

    Treat axes as noisy signals

    Analogue controls need calibrated processing. A dead zone suppresses resting noise, but a large dead zone removes fine control. Radial and per-axis dead zones produce different diagonals. Response curves, sensitivity, inversion, acceleration and smoothing should be selected for the action rather than applied globally.

    Record raw and processed values in a debug view. Test worn controllers and rapidly switching direction. Clamp values and avoid normalising a zero vector. For movement, decide whether diagonal input should reach the same maximum magnitude as axial input.

    Mouse delta, touch drag and stick displacement are not interchangeable. Mouse input is relative movement; a stick is an absolute deflection; touch may represent direct position or a gesture. Map them to a common gameplay intent only after applying device-appropriate processing.
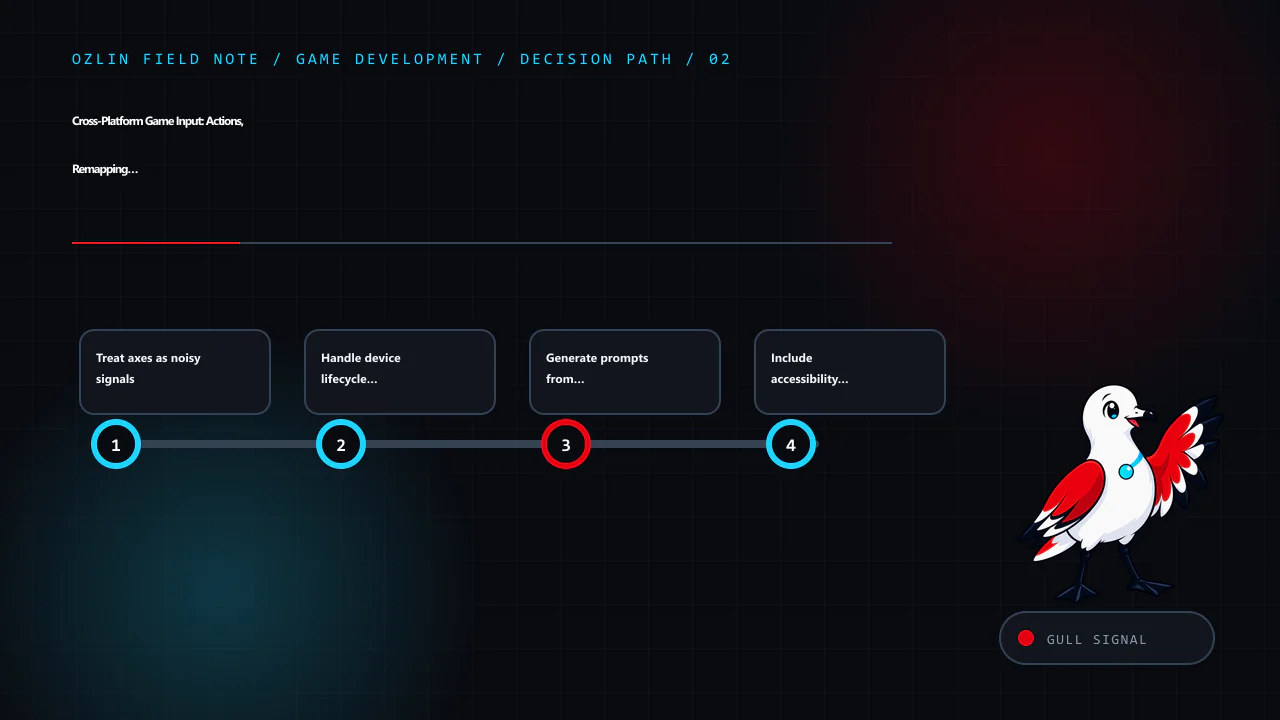
    Decision path for Cross-Platform Game Input: Actions, Remapping and Device Changes, covering Treat axes as noisy signals, Handle device lifecycle and player identity, Generate prompts from active bindings and related re…
    Decision path: Treat axes as noisy signals; Handle device lifecycle and player identity; Generate prompts from active bindings; Include accessibility at the action level.

    Handle device lifecycle and player identity

    Controllers can connect after launch, disconnect during play, change battery state or be reassigned. SDL3's gamepad API normalises common gamepad locations and explicitly says applications should support hot-plugging. It also documents that rumble, LEDs, touchpads and sensors are optional capabilities that vary by device and operating system (SDL — Gamepad API).

    On a lifecycle event:

    1. update the device inventory;
    2. retain or release player pairing according to policy;
    3. pause only when appropriate to the game mode;
    4. show a usable replacement path;
    5. update prompts and glyphs; and
    6. avoid turning a disconnect into repeated gameplay input.

    Local multiplayer needs an explicit mapping between user, device set and controlled entity. Do not use a single global “current gamepad.” Test two identical controllers, keyboard sharing if supported, late join, sign-out and reconnect in a different order. In Unity, PlayerInput and its manager can help coordinate users and devices, but the project still owns join, split-screen and loss policies (Unity — PlayerInput).

    Generate prompts from active bindings

    The interface should show the effective binding for the active player and control scheme. Do not hard-code “Press A” into an image. Maintain a licensed glyph set and a text fallback. Switch prompts deliberately: constant flickering between mouse and gamepad prompts can occur from device noise.

    Localise action labels and account for right-to-left layouts where relevant. Some platforms define preferred terminology or assets; verify the current platform agreement and certification material available to the project. Do not publish a certification claim based on an engine feature.

    Include accessibility at the action level

    Offer remapping, sensitivity, inversion and separate X/Y controls where useful. Consider hold versus toggle, repeated-button alternatives, simultaneous-input demands, timing windows and one-handed layouts. Avoid making menu navigation depend on a precise pointer.

    For haptics, expose intensity and disable controls. Check capability at runtime and stop effects on pause, focus loss, device removal and scene teardown. Never require rumble to understand a gameplay event. Provide visual or audio alternatives for important cues.

    Touch targets need adequate size and spacing, safe-area handling and a layout that survives aspect-ratio changes. Let players reposition or resize controls when the game design permits. Test fingers obscuring critical content and multi-touch conflicts.
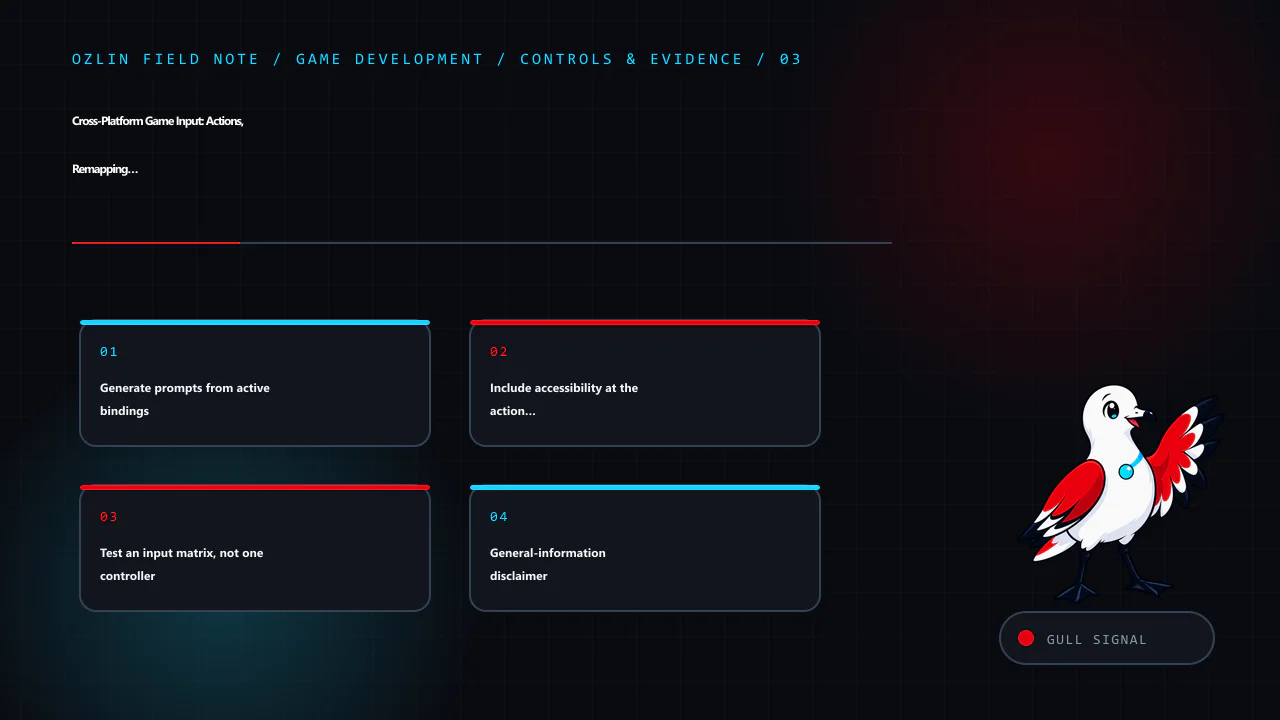
    Control and evidence map for Cross-Platform Game Input: Actions, Remapping and Device Changes, covering Generate prompts from active bindings, Include accessibility at the action level, Test an input matrix, not one con…
    Control and evidence map: Generate prompts from active bindings; Include accessibility at the action level; Test an input matrix, not one controller; General-information disclaimer.

    Test an input matrix, not one controller

    Create automated tests for action processing, context changes, conflict policy and settings migration. Then run physical-device tests covering:

    Dimension Representative cases
    Devices keyboard and mouse, several gamepad families, touch and supported assistive devices
    Lifecycle launch absent, connect, disconnect, reconnect, sleep and resume
    Users one player, local multiplayer, sign-in changes and guest policy
    Settings defaults, remaps, conflicts, corrupt data and reset
    Signals drift, extreme values, simultaneous inputs and rapid device switching
    Feedback correct labels, glyph fallback, haptics stop and accessibility alternatives

    Run the matrix in a built player on each target platform. Platform wrappers, browser focus, mobile gestures and operating-system overlays behave differently from the editor.

    For public context on this research series, see Ozlin Info’s public game-development R&D examples.

    Related reading: Cross-platform game development with Unity.


    General-information disclaimer

    This article provides general technical information. It does not guarantee device compatibility, accessibility conformance or platform certification; verify the current engine, operating-system and platform-holder requirements for the actual release.

    AI-assistance disclosure

    AI tools assisted with source discovery, outlining and copyediting. A human reviewer must test real devices, settings migration and current platform requirements before publication or release.
    Practical checklist for Cross-Platform Game Input: Actions, Remapping and Device Changes, covering Test an input matrix, not one controller, General-information disclaimer, AI-assistance disclosure and related review po…
    Practical checklist: Test an input matrix, not one controller; General-information disclaimer; AI-assistance disclosure; Primary sources checked.

    Primary sources checked

    Source access date: 29 August 2026.

  • Your First Unity 6 2D Game in Seven Testable Steps

    Your First Unity 6 2D Game in Seven Testable Steps

    Reviewed: 13 September 2026 · Next review: 13 December 2026
    Author: Ozlin Info Editorial Team · Human review: Lin (accountable human); Codex assisted

    A useful first game is small enough to finish and structured enough to test. This guide builds one scene in which a player moves a square to a goal, shows a success message and can be built for a selected target. It uses a pinned Unity 6 editor, the current Input System and Rigidbody2D.linearVelocity rather than the legacy Input.GetAxis workflow.

    The example is educational. Run it in a new project or branch, record exact versions and inspect every imported asset and package before using it in production.

    1. Pin the project and define “done”

    Install a supported Unity 6 LTS editor through Unity Hub with the module for the first target platform. Record the full editor version. Create a 2D project and initialise source control before adding assets.

    Commit Assets, Packages and ProjectSettings. Exclude generated Library, Temp, Logs, obj and local build directories using an appropriate Unity ignore file. Do not commit signing keys, service credentials or generated store packages.

    Write a tiny acceptance test:

    • the game opens directly into one scene;
    • WASD, arrow keys or a gamepad stick moves the player;
    • the player cannot pass through the border;
    • reaching the goal displays a success panel;
    • Escape or a visible control can exit or return according to platform; and
    • a built player runs on the selected target device.

    This boundary prevents a first project from expanding into inventory, networking and procedural worlds before its basic loop works.

    Article map for Your First Unity 6 2D Game in Seven Testable Steps, covering Pin the project and define “done”, Build the scene with licensed placeholders, Create action-based input and related review points.
    Article map: Pin the project and define “done”; Build the scene with licensed placeholders; Create action-based input; Move the player through Rigidbody2D.

    2. Build the scene with licensed placeholders

    Create and save Assets/Scenes/Main.unity. Add a camera with an orthographic projection. Use simple coloured sprites created in the editor or original files for the player, border and goal. Record the source and licence of anything downloaded; “free” does not define reuse or redistribution rights.

    Create sorting layers for background, world and interface if needed. Use consistent world units. Add four static border objects with BoxCollider2D, and give the player:

    • SpriteRenderer;
    • Rigidbody2D with gravity scale set to zero for this top-down example; and
    • BoxCollider2D or another shape matching the visual body.

    Do not resize a collider accidentally through a deeply scaled parent. Turn on collision gizmos and check the actual shape. Place the goal with a BoxCollider2D marked as a trigger.

    3. Create action-based input

    Unity documents the Input System as the extensible alternative recommended for new projects, while the old UnityEngine.Input API is legacy (Unity — Input System, Unity — legacy Input API).

    Install or confirm the released Input System package compatible with the pinned editor. Create Assets/Input/GameInput.inputactions with an action map named Player and a Move action:

    • action type: Value;
    • control type: Vector2;
    • a 2D Vector composite for WASD;
    • a second 2D Vector composite for arrow keys; and
    • a gamepad left-stick binding.

    Save the asset. The package can bind multiple devices to one action and supports later rebinding through overrides (Unity — Input bindings). Input handling belongs to gameplay actions rather than keyboard-specific code.

    Decision path for Your First Unity 6 2D Game in Seven Testable Steps, covering Create action-based input, Move the player through Rigidbody2D, Add one goal and explicit game state and related review points.
    Decision path: Create action-based input; Move the player through Rigidbody2D; Add one goal and explicit game state; Add readable interface, audio and tests.

    4. Move the player through Rigidbody2D

    Create Assets/Scripts/TopDownMover.cs:

    using UnityEngine;
    using UnityEngine.InputSystem;
    
    [RequireComponent(typeof(Rigidbody2D))]
    public sealed class TopDownMover : MonoBehaviour
    {
        [SerializeField] private InputActionReference moveAction;
        [SerializeField, Min(0f)] private float speed = 5f;
    
        private Rigidbody2D body;
    
        private void Awake()
        {
            body = GetComponent<Rigidbody2D>();
        }
    
        private void OnEnable()
        {
            moveAction.action.Enable();
        }
    
        private void OnDisable()
        {
            moveAction.action.Disable();
            if (body != null)
            {
                body.linearVelocity = Vector2.zero;
            }
        }
    
        private void FixedUpdate()
        {
            Vector2 input = moveAction.action.ReadValue<Vector2>();
            if (input.sqrMagnitude > 1f)
            {
                input.Normalize();
            }
    
            body.linearVelocity = input * speed;
        }
    }

    Attach it to the player and assign the Move action reference. Unity 6's current Rigidbody2D API exposes linearVelocity as the linear velocity vector (Unity — Rigidbody2D.linearVelocity). Pinning the editor matters because older tutorials and versions use different API names.

    The script reads intent and applies velocity during the physics step. Normalising values above magnitude one prevents diagonal keyboard input from exceeding the configured speed. A platformer would need gravity, grounded checks, jump rules and a different controller; do not reuse this top-down movement unchanged.

    5. Add one goal and explicit game state

    Create a GoalZone component that raises one success event the first time the player enters. Keep outcome logic outside the movement script. A small GameFlow component can own Playing and Completed states, disable player input on completion and open a success panel.

    Validate the collider belongs to the player using a component or layer, not an object name. Guard repeated trigger callbacks so the score or success transition is idempotent. If the scene reloads, the new flow owner should start from a deliberate state.

    Add a reset control through an input action or accessible interface button. Do not require a mouse if gamepad is supported. Avoid relying only on colour or sound to communicate success.

    Control and evidence map for Your First Unity 6 2D Game in Seven Testable Steps, covering Add one goal and explicit game state, Add readable interface, audio and tests, Create a Build Profile and run the player and rela…
    Control and evidence map: Add one goal and explicit game state; Add readable interface, audio and tests; Create a Build Profile and run the player; General-information disclaimer.

    6. Add readable interface, audio and tests

    Create a Canvas with brief controls and a hidden success panel. Anchor elements so they survive several aspect ratios and safe areas. Use readable contrast and a logical navigation order. If a sound confirms success, keep the visible message as an alternative.

    Test the acceptance list in Play Mode, then add automated checks where useful:

    • an Edit Mode test for movement-vector normalisation;
    • a Play Mode test that the border blocks the body;
    • a Play Mode test that entering the goal completes once; and
    • a content check that the build scene is present.

    Try keyboard and a physical gamepad, unplug the gamepad, resize the window, lose and regain focus, and reload the scene. Watch the Console for exceptions and warnings. A tutorial that “looks right” but emits an error every frame is not complete.

    7. Create a Build Profile and run the player

    Open File → Build Profiles. Unity 6 Build Profiles let a project store multiple configurations and their scene lists as assets (Unity — Build Profiles). Create a development profile for the first target, add Main.unity, select the correct platform module and build to a clean local output directory.

    Run the built player and repeat the acceptance test. The editor does not reproduce every resolution, file path, input, graphics or lifecycle behaviour. For mobile, install on a physical device and check touch design, safe areas, suspend/resume, performance and package identity. Store submission additionally requires current signing, SDK, privacy and listing work; a local build is not store approval.

    Record the build date, source revision, editor and package versions and test device. Make a source-control tag when the seven-step sample passes. You now have a finished, reproducible base that can accept one new feature at a time.

    For a scoped software build or review, see Ozlin Info's secure web and software delivery service; related first-party game-engineering context is in the Projects archive, or contact Ozlin Info.

    Related reading: Cross-platform Unity architecture and delivery.


    Practical checklist for Your First Unity 6 2D Game in Seven Testable Steps, covering Create a Build Profile and run the player, General-information disclaimer, AI-assistance disclosure and related review points.
    Practical checklist: Create a Build Profile and run the player; General-information disclaimer; AI-assistance disclosure; Primary sources checked.

    General-information disclaimer

    This article provides an educational example, not a supported Unity package, storefront approval or production controller. Verify the pinned editor, packages, licences, platform requirements and tests for the actual project.

    AI-assistance disclosure

    AI tools assisted with source discovery, example drafting and copyediting. A human reviewer must create the project, compile the script, run the tests and verify current Unity and target-platform behaviour before relying on it in a project. The recorded editorial review is not evidence that these execution tests have passed.

    Primary sources checked

    Source access date: 29 August 2026.

    Limitations: This tutorial is an educational starting point; Unity, package, platform, signing and device behaviour must be tested with the actual project.