Reviewed: 13 September 2026 · Next review: 13 December 2026
Author: Ozlin Info Editorial Team · Human review: Lin (accountable human); Codex assisted
A memorable game level is not merely a beautiful environment. It is a system that teaches, challenges, directs and rewards the player while remaining technically reliable. A grey corridor with excellent pacing can be more engaging than a magnificent scene that hides its objective, traps the camera or collapses under load.
The same principles apply whether you are building in Unity, Unreal Engine, Godot or another commercial or open-source engine, or using Hammer to create a Counter-Strike 2 community map. The tools and file formats differ; the questions do not:
- What should the player notice, decide and do?
- What information is available before a consequence?
- Which routes, encounters and sounds carry the experience?
- Can humans, bots, cameras and networked game logic all use the space?
- Does the level still work on the target hardware and server configuration?
This guide provides a reusable workflow rather than a universal recipe. Engine documentation and CS2 tool availability were checked on 29 August 2026. Always test against the exact engine version, game mode, movement controller and deployment target you will ship.
Begin with an experience brief, not a pile of assets
Write one page before opening the editor. Define the player fantasy, game mode, target session length, expected player count, movement verbs, camera, difficulty band and performance targets. For multiplayer, add spawn logic, team goals, round flow, comeback conditions and whether spectators need a readable view.
Then describe the level in verbs: enter, orient, choose, commit, recover, master. A competitive round might be “spawn, gather information, contest an early lane, choose a rotation, execute, retake”. A puzzle room might be “observe, form a theory, test it, receive feedback, combine rules”. A zombie escape map might be “defend, retreat, regroup, survive a set piece, reach extraction”.
Create a metrics sheet from the real controller rather than copying another game's dimensions. Record character capsule, standing and crouched height, camera offset, maximum step, jump arc, acceleration, stopping distance, interaction reach and common group size. Every doorway, cover object and landing must be evaluated against those measurements.
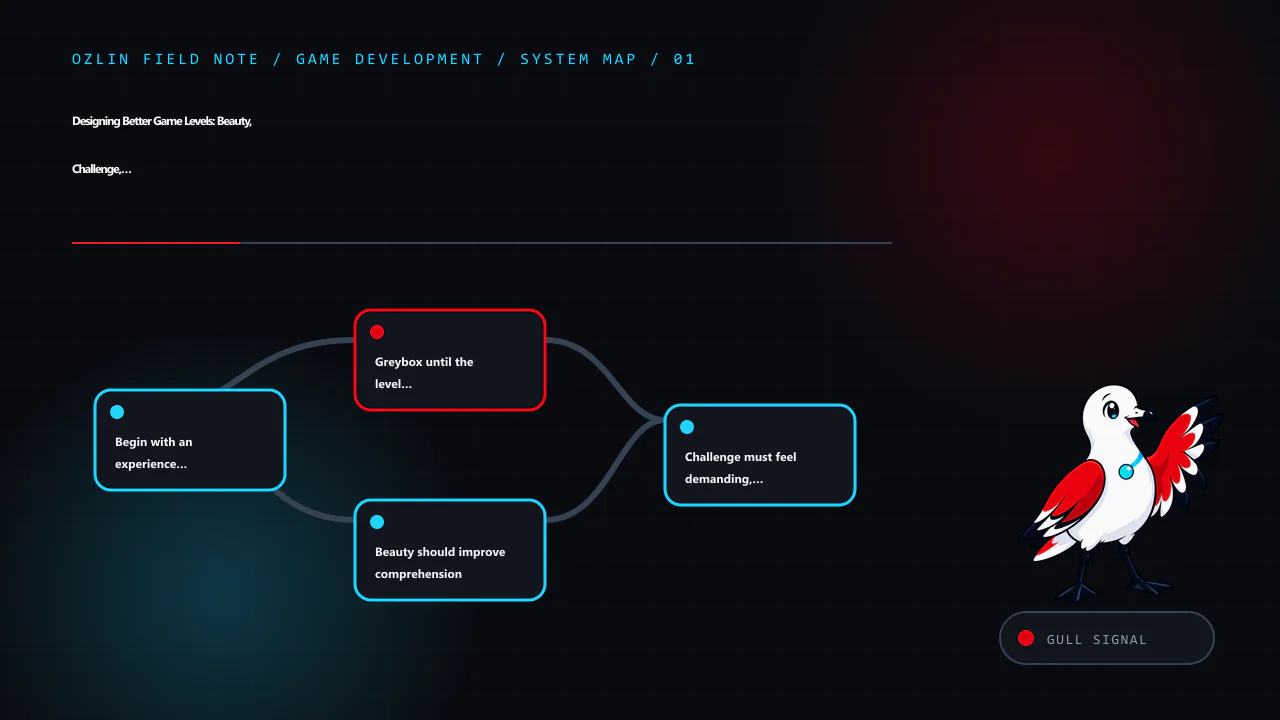
Greybox until the level is fun without decoration
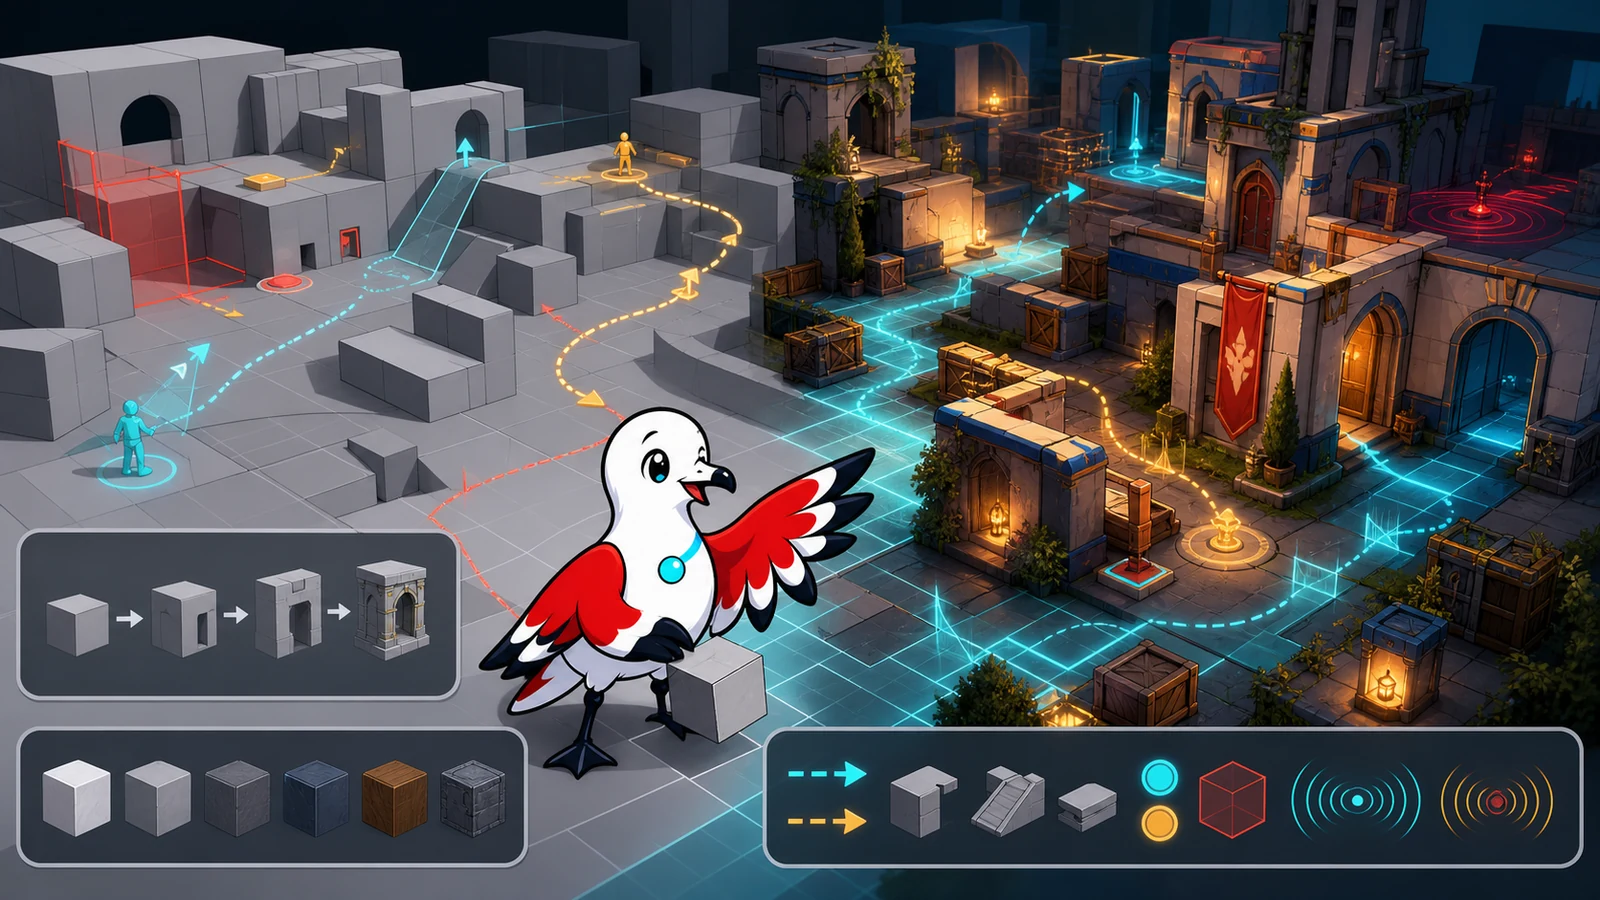
Blockout—or greyboxing—uses simple shapes to prove scale, movement and encounter structure before expensive art. Epic's current level blockout tutorial explicitly recommends testing layout and playability before finished art, and calls out scale, verticality, occlusion, contrast and guiding lines. Unity's ProBuilder documentation similarly positions the package for in-scene level design, prototyping, collision meshes and playtesting.
Use a small palette of primitive colours with a legend: playable floor, solid collision, hazard, cover, objective, one-way route and temporary note. Keep the blockout cheap enough to delete. If replacing a room feels emotionally expensive, it has already become too detailed.
Test these questions before the art pass:
- Can a new player identify the next meaningful destination without a floating arrow?
- Do alternate routes create different decisions, or merely duplicate walking time?
- Can the player predict what is climbable, breakable, dangerous or interactive?
- Are failure and recovery spaces intentional?
- Can the camera, largest supported group and relevant AI pass without clipping or bunching?
- Are objective timings defensible when measured from every spawn?
Record a fly-through and a real playthrough. A designer camera can glide over defects that the player controller cannot cross.
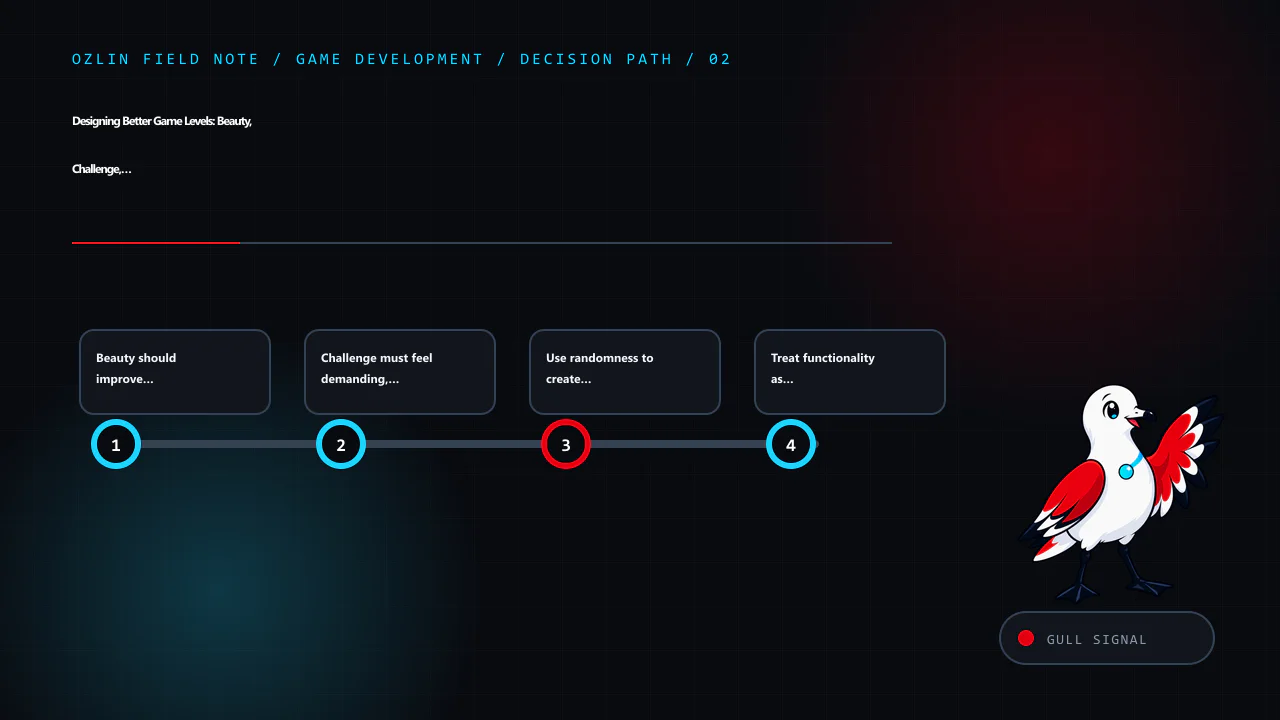
Beauty should improve comprehension
Art direction and usability are allies when the visual hierarchy has a purpose. Choose a small set of landmarks, material families and lighting roles. A unique silhouette can orient the player across a large space; a warm light can mark a destination; a damaged surface can imply danger or history. Repeating every accent everywhere destroys the hierarchy.
Build three visual layers:
- Navigation layer: silhouettes, horizon, landmarks, doors, paths and objective contrast.
- Gameplay layer: cover edges, ledges, hazards, pickups and interactive states.
- Story layer: props, wear, vegetation, signage and environmental detail.
The navigation and gameplay layers must survive low settings, colour-vision differences, motion and combat effects. Do not make “red versus green” the only distinction. Use shape, position, animation, icons or sound as redundant cues.
Control visual noise around aim lines and interaction targets. A realistic pile of debris may look excellent in a still image but create false cover, snag collision or conceal opponents. Keep decorative geometry visually rich but mechanically simple where possible.
Challenge must feel demanding, not arbitrary
Good challenge asks the player to read information and execute a skill. Friction asks them to fight the camera, guess an invisible rule or repeat travel after a failure.
For each encounter, write the intended observation, decision, action and feedback. Introduce a mechanic safely, combine it with another pressure, then test mastery. Increase difficulty through timing, coordination, resource pressure, spatial complexity or competing objectives—not only larger enemy health pools.
Preserve fairness:
- Telegraph lethal hazards and irreversible choices.
- Give the player enough room and time to use the movement system.
- Make failure explainable through animation, audio or a clear state change.
- Prevent one spawn, sightline or elevation from dominating without a designed counter.
- Test novices, regular players and experts separately; an average can hide both confusion and boredom.
In competitive maps, measure first contact, rotations and retakes with repeatable runs. A five-second difference is not automatically wrong, but it must support the intended risk and utility economy. Test peeker advantage, off-angles, boosts, grenade or projectile trajectories, spectator visibility and sound propagation under the actual game rules.
Use randomness to create decisions, not lottery losses
Randomness can improve replayability when it changes what the player evaluates. It is harmful when it invalidates planning or produces impossible states.
Prefer bounded, authored variation: select one of several validated encounter sets, change which route opens, rotate optional resources or vary decoration without changing collision. Use seeds so a failure can be reproduced. Log the seed in development builds and retain a deterministic regression set.
Every generated or shuffled configuration should satisfy invariants:
- the objective remains reachable;
- required resources and safe recovery routes exist;
- critical navigation is connected;
- competitive teams receive equivalent opportunity where fairness requires it;
- streaming and memory budgets remain valid; and
- the same seed does not change after an unrelated content update without an intentional versioning decision.
Procedural systems still need hand-authored constraints and playtests. “More combinations” is not the same as “more meaningful play”.
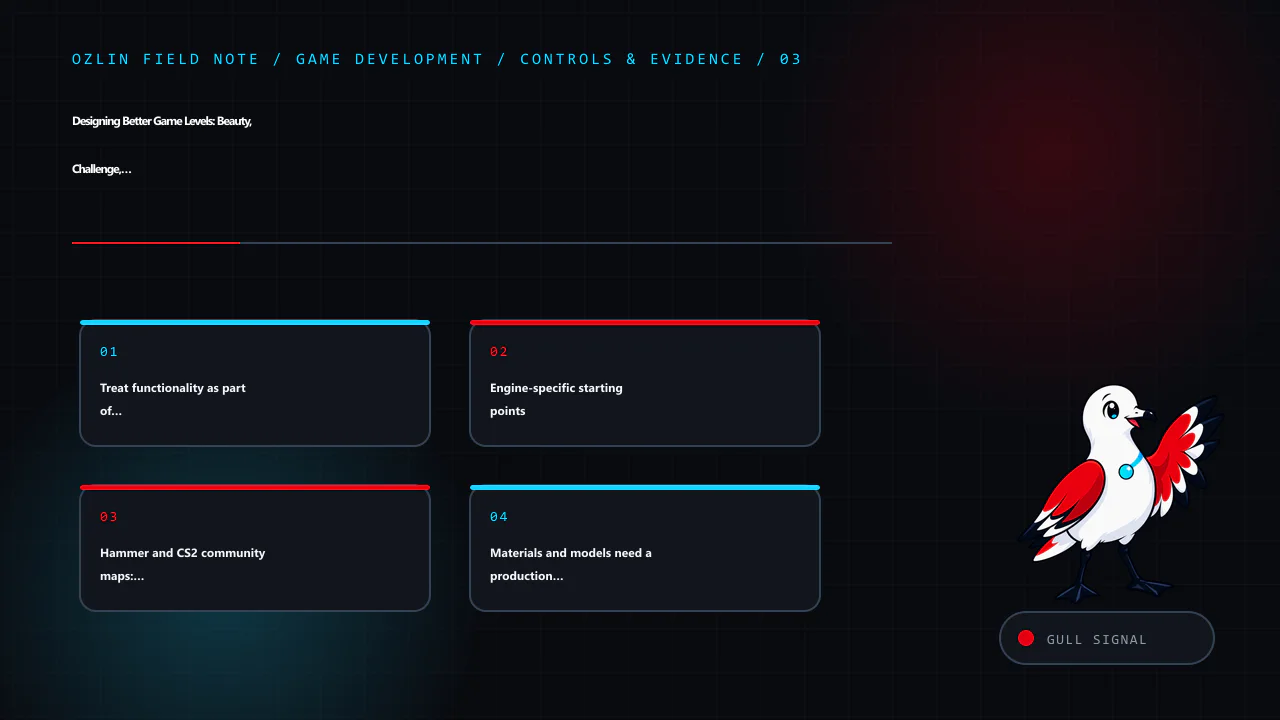
Treat functionality as part of the design
A level is a network of systems: collision, triggers, navigation, lighting, audio, AI, save state, streaming, replication and scripting. Assign ownership for each before the polishing phase.
Create separate debug views for collision, navigation, occlusion, triggers, spawn volumes, audio zones and streaming cells. Test from a clean boot and a dedicated-server build when relevant, not only from an editor session that has cached assets.
For AI, inspect the baked or generated navigation surface instead of assuming visible floor is traversable. Unity's current AI Navigation documentation covers NavMeshes, agents, links and dynamic obstacles. Godot's stable documentation explains how GridMaps can carry collision and navigation and how NavigationRegion nodes register navigation data. In Unreal, navigation must be validated with the relevant level or World Partition loading state; a path that exists in the fully loaded editor may disappear when cells stream.
Engine-specific starting points
| Workflow | Useful starting point | Do not mistake it for |
|---|---|---|
| Unity | ProBuilder for fast in-scene geometry; scenes or prefabs for modular sections; AI Navigation for NavMesh, links and obstacles | Permission to delay controller, build-target and profiler tests |
| Unreal Engine | Modelling or primitive tools for blockout; Actors and volumes for rules; World Partition and Data Layers for suitable large worlds | A requirement to use open-world systems for every small level |
| Godot | GridMap or reusable scenes for modular 3D construction; NavigationRegion3D and audio buses for runtime systems | A guarantee that every imported mesh already has correct collision, scale or navigation |
| CS2 Hammer | Counter-Strike 2 Workshop Tools, Hammer, compile utilities, tutorial maps and prefabs | A generic engine project; the map must obey CS2's current game rules and Workshop pipeline |
| Other engines | Primitive blockout, explicit metrics, navigation debug, asset budgets and repeatable playtests | A reason to copy another engine's units, lighting or build assumptions |
Valve's official CS2 Maps Workshop FAQ states that the authoring tools include Hammer, compiling utilities, a Workshop publisher, tutorial maps and prefabs. Use the version shipped for the current game rather than an unsupported cracked or repackaged toolkit.
Hammer and CS2 community maps: design for the actual mode
A standard competitive defusal map, deathmatch arena, Zombie Riot map and zombie escape map do not share the same success criteria.
For competitive play, validate team spawn capacity, buy and objective zones, early contact timings, rotations, retake routes, clipping, grenade interactions, radar readability, visibility at supported settings and every plausible boost. Run repeated sessions with real players because a symmetrical plan can still produce asymmetric information or utility.
For zombie modes, design for crowds and server-side load. Wide circulation, fallback positions, teleport destinations, damage or trigger volumes and anti-stall logic must remain reliable when many humans and bots occupy the same area. Test doors and moving platforms under obstruction. Ensure a round reset returns every dynamic object and trigger to a known state.
Zombie maps must ship with bot-usable navigation
If a zombie map is expected to support bots, the nav mesh is a deliverable, not an optional afterthought. Generate or author it against the final collision, then inspect and playtest it in the intended server mode.
Check all of the following:
- required floors form connected routes between spawns, objectives, defensive positions and fallback areas;
- bot-sized clearance exists at doorways, vents, stairs, ramps and crowd bottlenecks;
- ladders, drops, jumps, elevators, doors and teleport transitions have a supported traversal route or an intentional fallback;
- decorative collision does not create tiny islands, false walkable surfaces or corners where bots oscillate;
- dynamic blockers and destructible routes update or invalidate navigation as expected;
- bots can leave every spawn and do not select inaccessible objectives or unreachable camping spots;
- changes to geometry trigger a nav review before release; and
- the packaged Workshop/server build includes the current navigation data, not an older local copy.
Run several rounds with one bot, a small group and the highest realistic bot count. Observe path diversity, queueing, stuck locations, CPU cost and what happens after doors close or players block a choke. Add temporary telemetry or server logs for repeated stuck coordinates rather than fixing only the first visible example.
Default bots may not understand a complex zombie-escape script, staged boss mechanic or human-only puzzle. Decide whether the map will offer bots a simplified supported route, use an authorised server plugin or script, or explicitly document that full progression requires humans. Never advertise bot compatibility solely because bots spawn successfully.
Ozlin's CS:GO-era ZE/ZM operations used BotMimic 2.1 to record and replay player movement. It was useful for repeatable traversal demonstrations, route checks and map-making video capture, but a recorded mimic path was never a substitute for a connected nav mesh, current collision or live playtesting.
The Valve Developer Community's navigation-mesh overview is a useful starting reference, but CS2 and community-mode behaviour can change. Verify with the current game build and the exact plugins used by the server. For capacity planning, also see Ozlin's Australian game-server sizing guide.
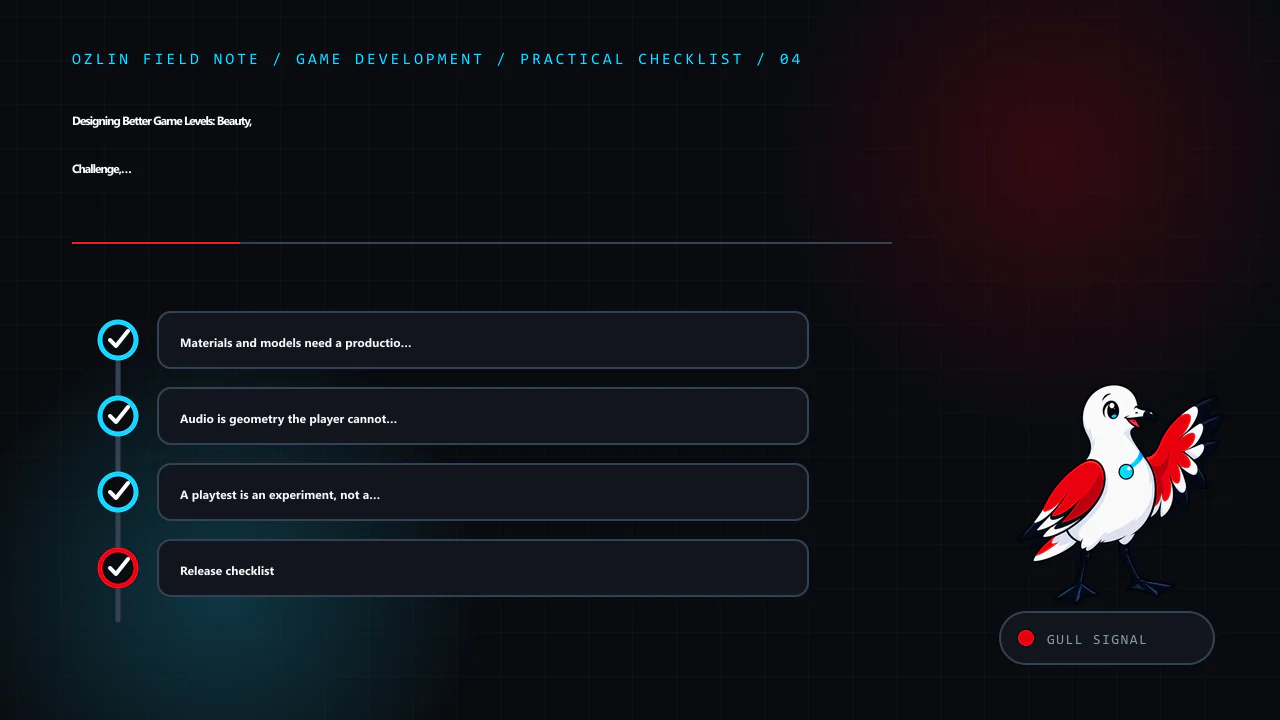
Materials and models need a production contract
Define a modular grid, pivot rules, naming, scale, texel density, material channels, collision ownership and level-of-detail policy before a large asset library forms. A wall kit that almost snaps is slower than a smaller kit that always snaps.
Separate gameplay collision from render detail. Use simple, stable collision proxies for architecture and props unless detailed collision is genuinely required. Validate normals, UV seams, lightmap or virtual-texture requirements, material instances, mip behaviour and distant silhouettes on the target renderer.
Track asset provenance and licence terms. Do not extract a commercial game's map, model, texture or sound and treat the result as a new community asset. For marketplace or open-source content, retain the licence, author, source URL, permitted uses and any required attribution. Test imported packages in a branch or isolated project; convenience assets can bring scripts, shaders, dependencies and performance costs.
The related Unity rendering guide explains why batching claims must be checked with profiler evidence, and the collision-detection guide covers broad phase, narrow phase and continuous collision choices.
Audio is geometry the player cannot see
Sound tells the player how large a space is, what is happening beyond a wall and whether danger is approaching. Plan audio while the level is grey, not after the art is locked.
Create ambience zones, reverb transitions, occlusion boundaries, one-shot emitters and gameplay-priority categories. A quiet ventilation loop can distinguish two identical corridors; a door's sound can confirm its state; a distant objective cue can guide without a marker. Avoid making critical information available only to players wearing headphones. Provide visual or haptic alternatives where the game supports them.
Budget voices and priorities for the worst encounter. Do not allow decorative ambience to steal channels or mask footsteps, dialogue, warnings or objective feedback. Test stereo, surround, speakers, headphones, low-volume play and accessibility settings. Godot's audio-bus documentation demonstrates a useful separation model; other engines expose comparable routing, effects and priority systems. Ozlin's game-audio systems guide covers voice budgets, spatialisation and accessible mixes in more depth.
A playtest is an experiment, not a vote
Choose one question per build. “Is the map fun?” produces vague answers. “Can a first-time player identify the next objective within 20 seconds without instruction?” produces observable evidence.
Capture route choice, time to first decision, deaths or failures, stuck events, camera problems, objective misunderstandings and performance spikes. Ask the player to describe what they believed, then compare that belief with the design intent. Do not explain during the run unless the test is specifically about onboarding with help.
Maintain three test groups:
- fresh players expose teaching and navigation failures;
- regular players expose pacing and balance problems; and
- experts or exploit-minded testers expose skips, dominant strategies and boundary failures.
Change one major variable at a time, keep versioned builds and preserve known-good seeds. For multiplayer, test a dedicated server under representative player and bot counts; editor-hosted sessions conceal real replication, CPU and content-delivery conditions. The multiplayer networking guide explains authority, prediction and packet budgets.
Release checklist
Before publishing a level or Workshop map, verify:
- the experience brief and current metrics sheet match the shipped controller;
- every objective, spawn, checkpoint, route and round reset works from a clean build;
- collision, navigation and bot paths have been inspected visually and tested at runtime;
- no player can leave the intended world, become permanently stuck or see critical missing surfaces;
- materials, models, audio and third-party assets have recorded licences and attribution where required;
- performance budgets pass on minimum and representative hardware, not only the editor machine;
- lighting, landmarks and objectives remain readable at supported quality and accessibility settings;
- random seeds and generated layouts satisfy reachability and fairness invariants;
- multiplayer tests cover latency, full occupancy, bots, reconnects and spectator states; and
- release notes state the supported modes, player counts, required plugins and known limitations.
Beautiful levels earn the first screenshot. Functional, readable and well-tested levels earn the next hundred sessions. Build the route in grey, prove the decisions, then let art, materials, models and sound make the experience unforgettable.
Limitations: Engine, package and game-mode behaviour, input, navigation, network latency, assets, hardware and accessibility needs vary. This checklist cannot guarantee fun, fairness, performance or compatibility without runtime testing.
Sources and review note
Key tool sources were accessed on 29 August 2026: Unity ProBuilder 6.0, Unity AI Navigation 2.0, Unreal Engine level blockout, Unreal Engine World Partition, Godot GridMaps, Godot NavigationRegions, Godot audio buses, Valve's CS2 Maps Workshop FAQ, the Valve Developer Community navigation-mesh overview and BotMimic's upstream repository. Exact package versions and community-game behaviour can change. Next scheduled source review: 28 February 2027.
AI assisted with source discovery, drafting and copyediting; Ozlin Info remains responsible for publication.
Source access date: 2026-08-29